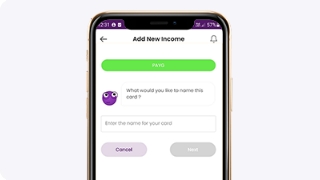
You’ve probably heard us talking about these two new features on our webapp last month. Folks, we’re super excited to let you know that both the Historical Tracking and Search & Filter feature are now available on Mobile!
Here’s the step by step instructions on how to access them:
Historical Changelog
- Tap on the
 icon located near the bottom of the screen.
 - Select MyFINANCIALS to access the Financial Dashboard displaying various categories. The categories such as Income, Expenses, Assets, Borrowings & Archived are visually presented in colored boxes.
- Look for the card that you would like to update
- Under the value field, you should see a date icon like below.
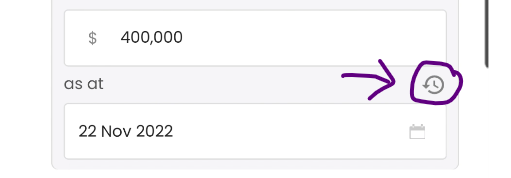
- Click on it and you’ll open up the Historical Log like this screen below. Click on the (+) icon and enter your historical data and that’s it. 🙂
There will be more insights being released on mobile relating to this in the coming months so stay tuned!
And if you’re still not sure how to add your historical data? Check out our Demo video here >
Card Search & Filter
- Tap on the
 icon located near the bottom of the screen.
 - Select MyFINANCIALS to access the Financial Dashboard displaying various categories. The categories such as Income, Expenses, Assets, Borrowings & Archived are visually presented in colored boxes.
- Look for the Search and Filter icon like below.
- Click on the search to search for a card with specific name or the filter to filter the items based on the category!
![]()
Still not sure? Check out our Demo video here >
Keen to learn more?
There You can view the full details of this release and a short guide here.
