Note: Open Banking is coming to Moorr in 2027. This article has been published in preparation for the release, so you can get familiar with how it works ahead of time.
Want to be one of the first to know when it’s available? Join the waitlist here: Open Banking on Moorr
—-
Connecting your bank accounts through Open Banking is the quickest way to get set up in Moorr.
Instead of manually entering your accounts and transactions, you can securely share eligible banking information with Moorr using Open Banking, with your consent.
The initial connection and import will usually take around 2–10 minutes, depending on your bank and the number of accounts and transactions being imported.
Step 1: Choose Fast Import
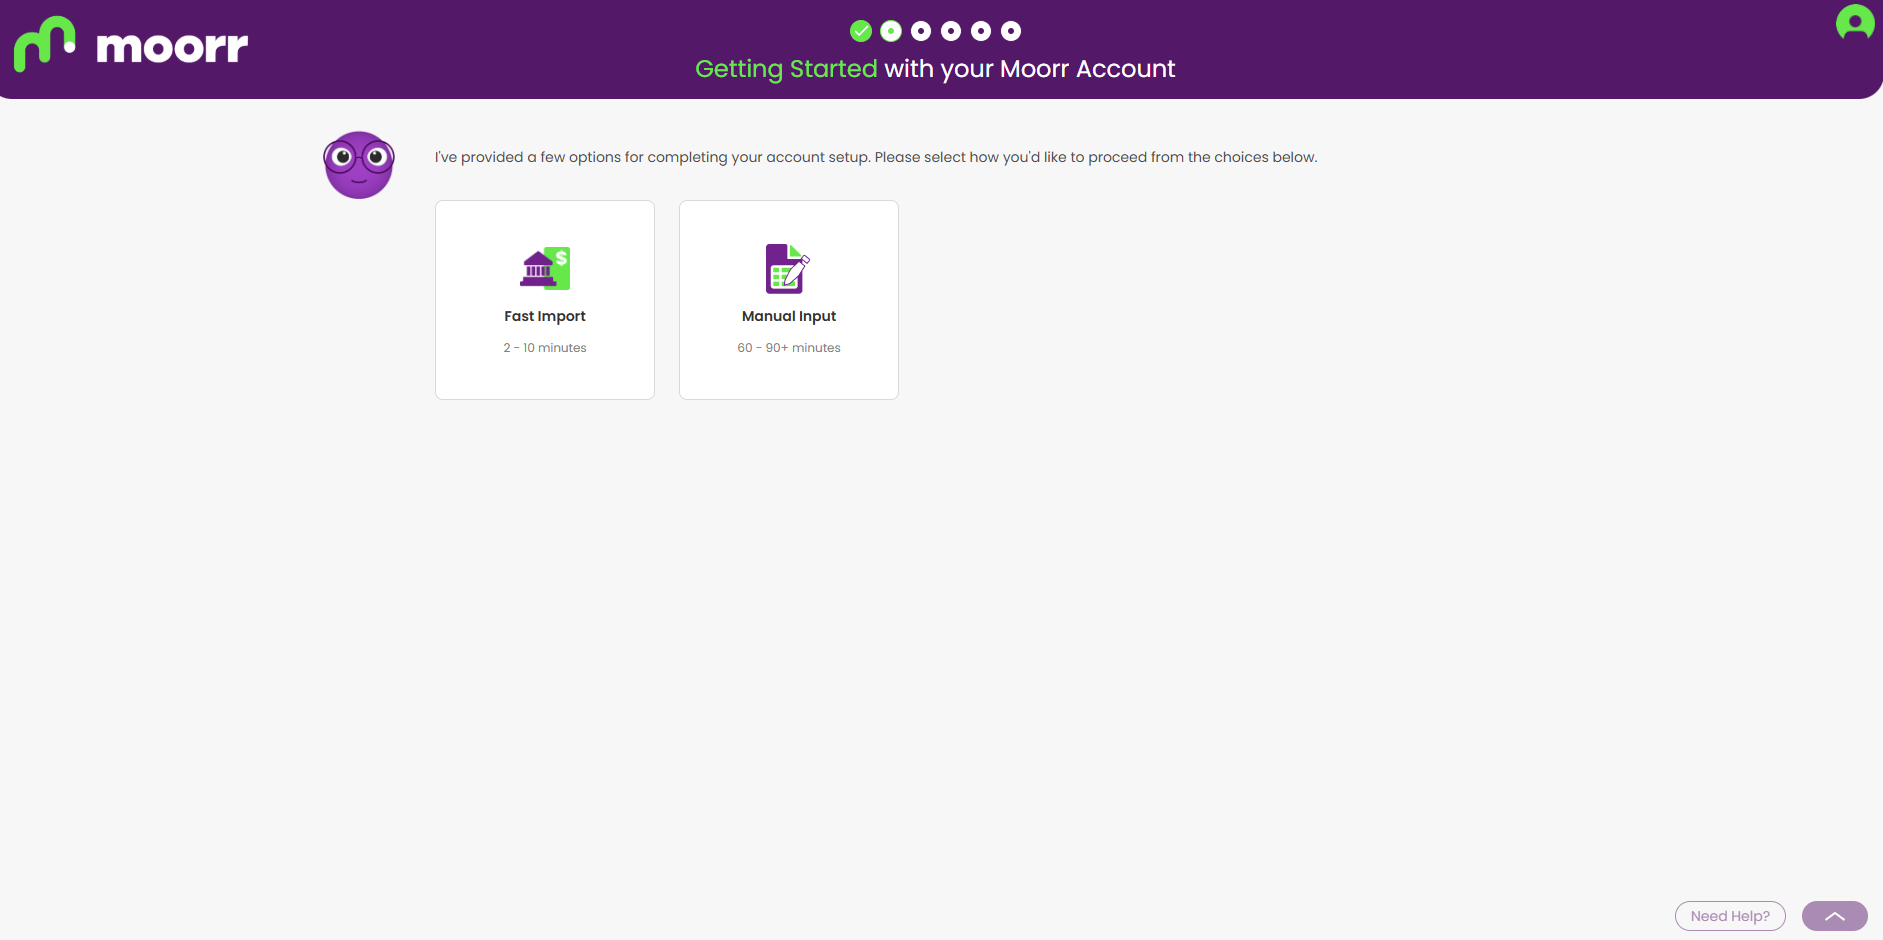
During Getting Started, Moorr gives you two ways to set up your financial information:
- Fast Import (2–10 minutes): Connect your eligible bank accounts using Open Banking.
- Manual Input (60–90+ minutes): Enter your financial information yourself.
Select Fast Import to get started with Open Banking.
Step 2: Give your consent
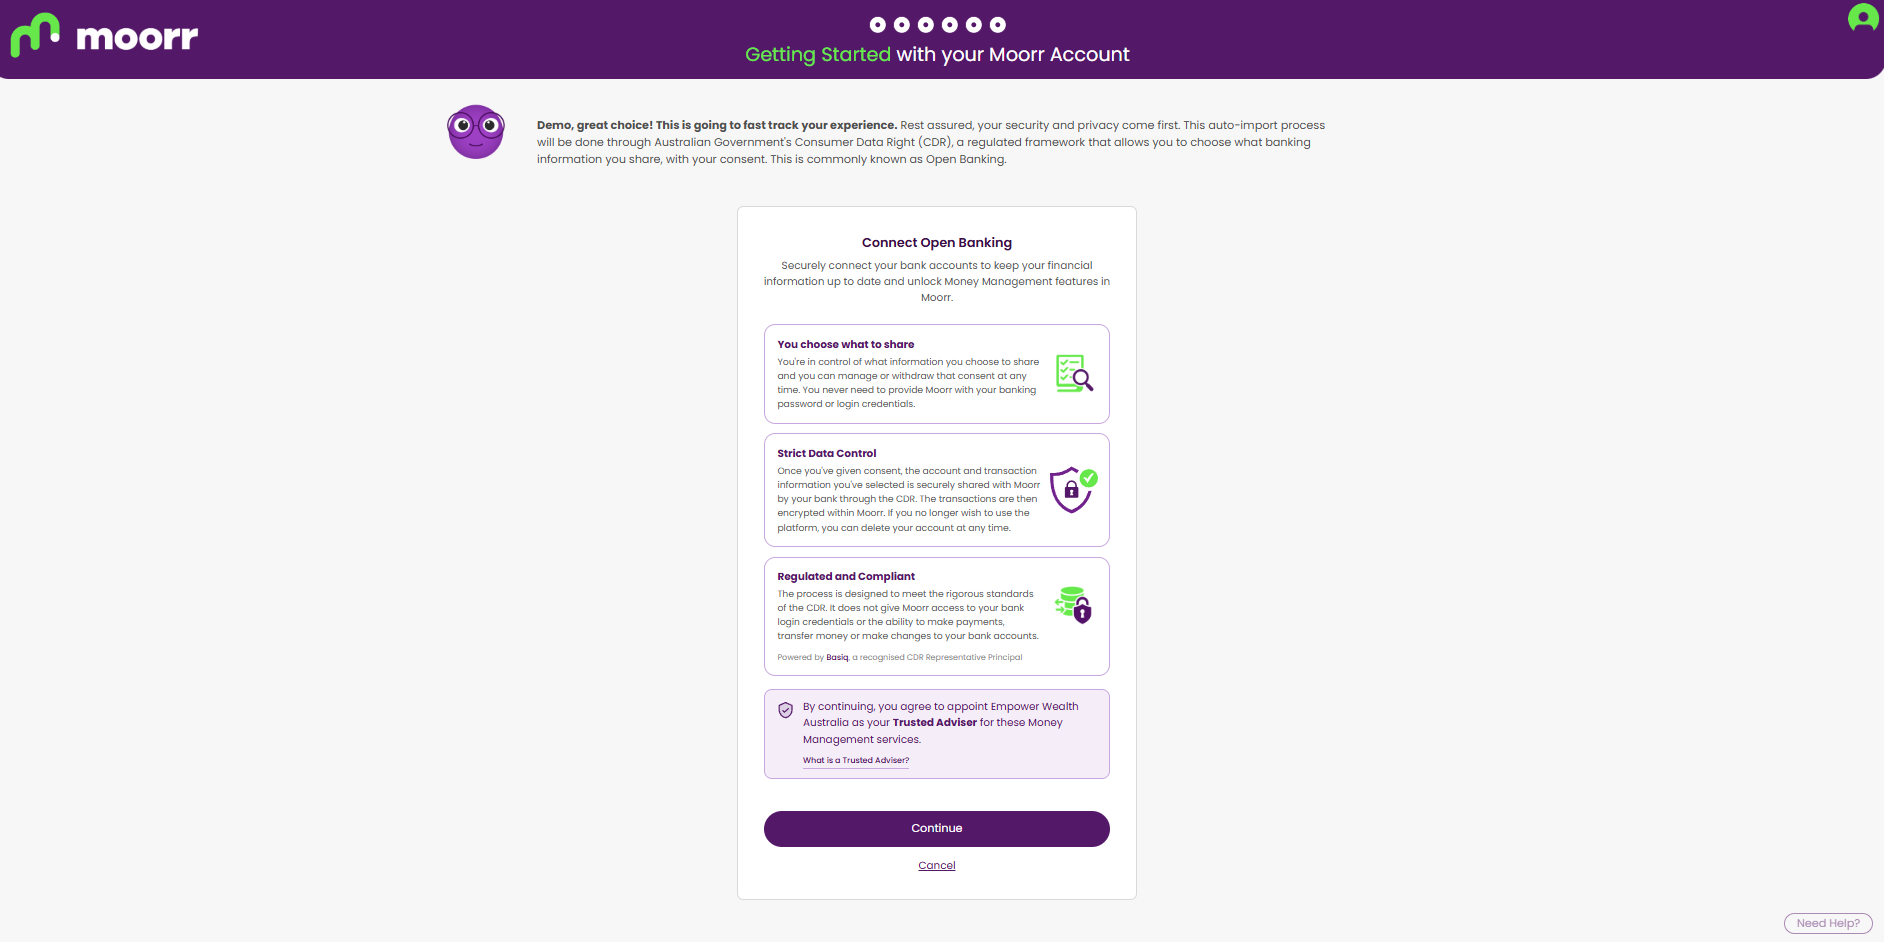
You’ll be redirected to Basiq, Moorr’s Open Banking provider, where you’ll be asked to provide consent before connecting your bank accounts.
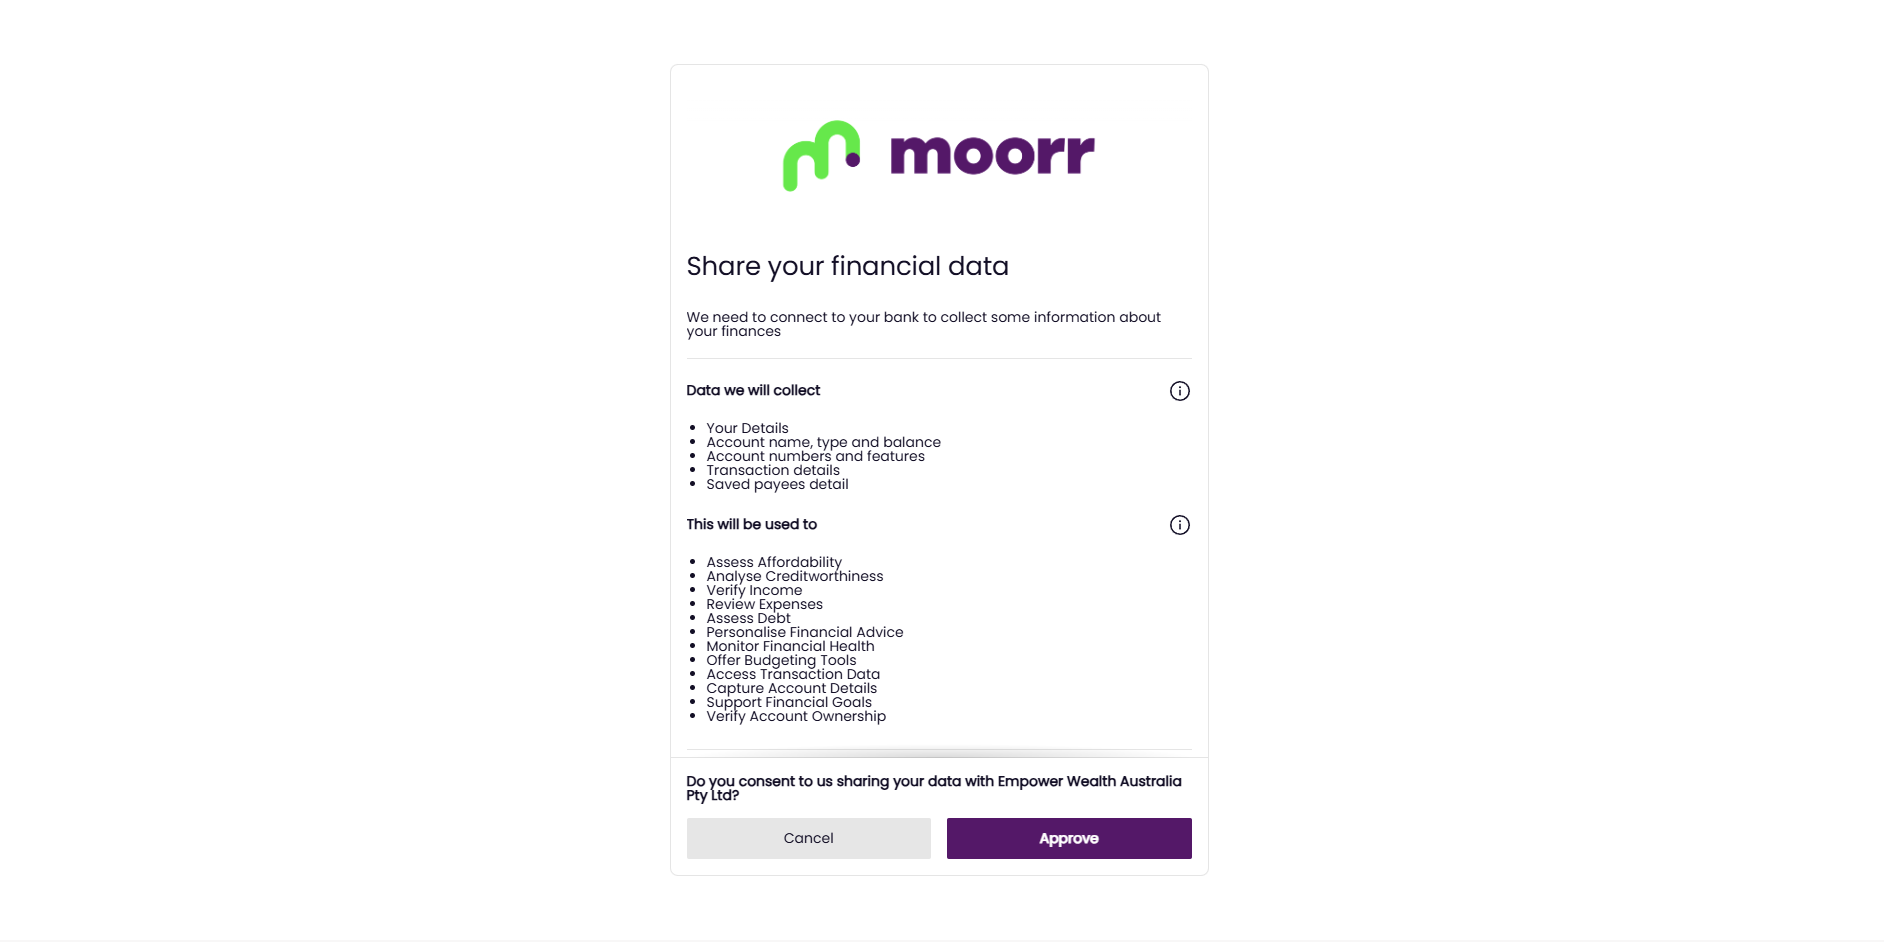
You’ll be able to review what information you’re agreeing to share before continuing.
Step 3: Select your bank
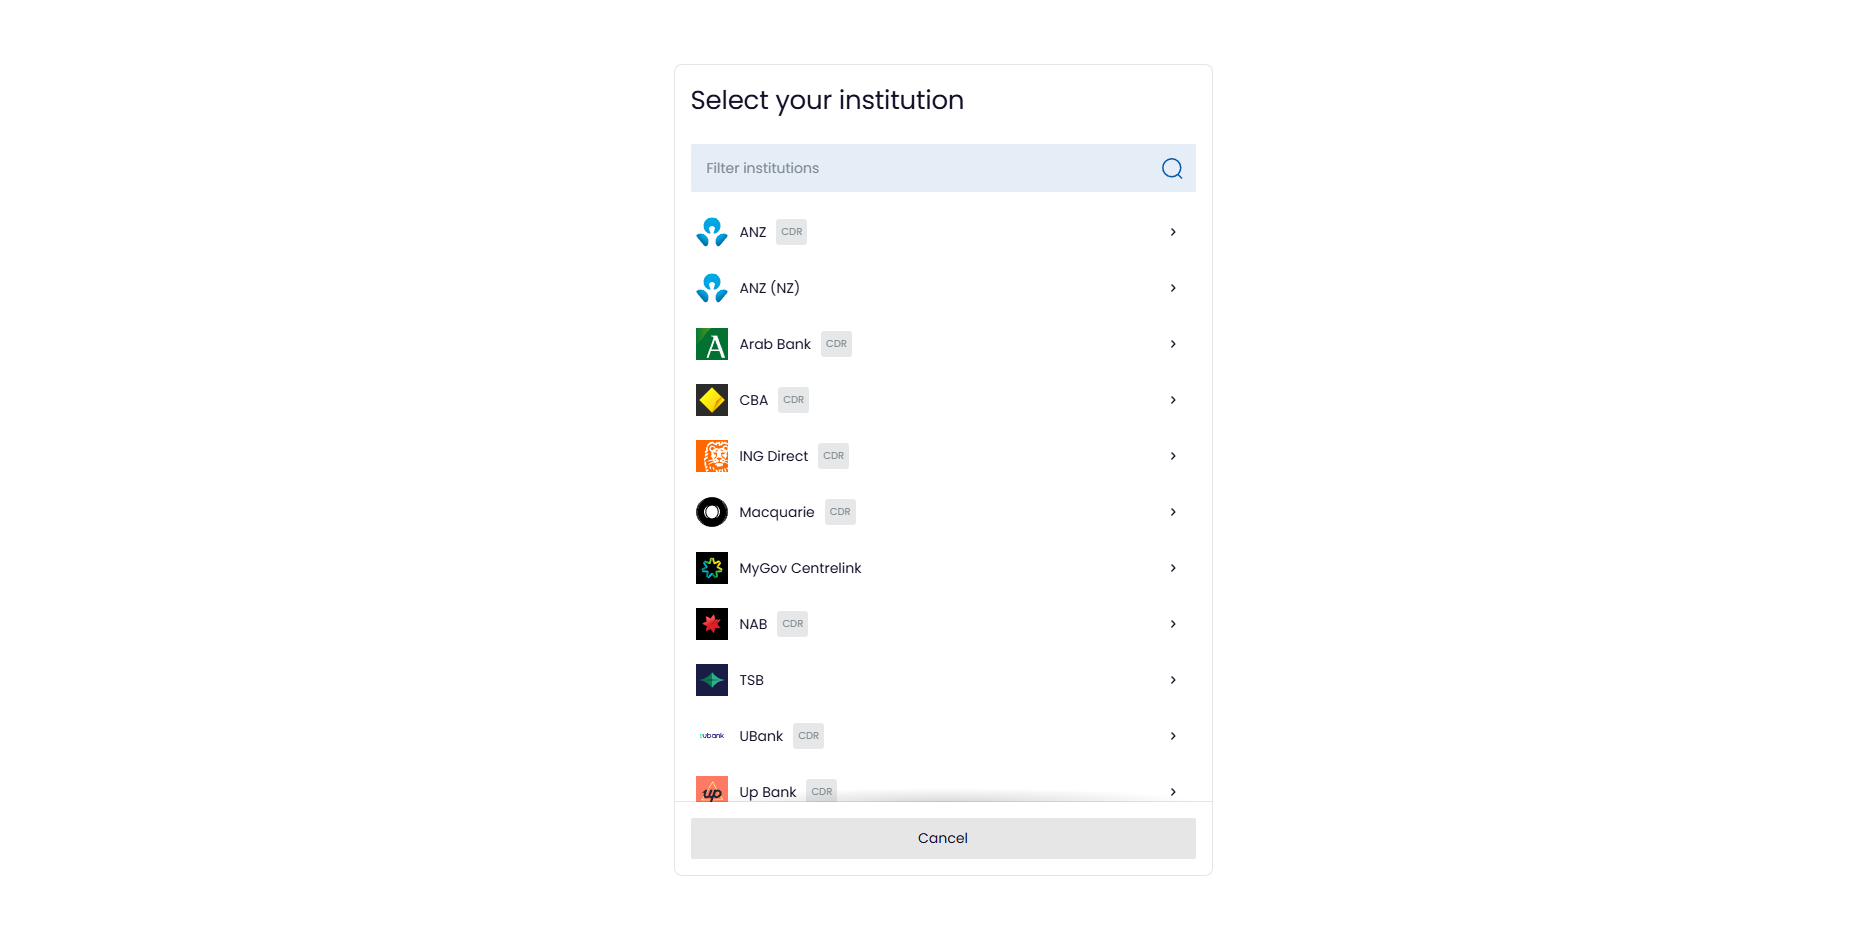
Find your bank in the list or type its name into the search box.
Open Banking is an Australian Government initiative operating under the Consumer Data Right (CDR) framework, so not every financial institution or account type will necessarily be available. For example, some international providers such as AMEX may not support CDR connections.
If your bank is marked CDR, it means eligible banking data can be shared through the Consumer Data Right.
Select your bank and follow its prompts to verify your identity. Depending on your bank, this may involve details such as your client number or mobile number and a one-time passcode.
You won’t need to give Moorr your internet banking password. Moorr also doesn’t have access to your bank login details and cannot make payments or transactions on your behalf.
Want to know more about how it works? Read: What is the Consumer Data Right (CDR) in Australia?
Step 4: Choose the accounts
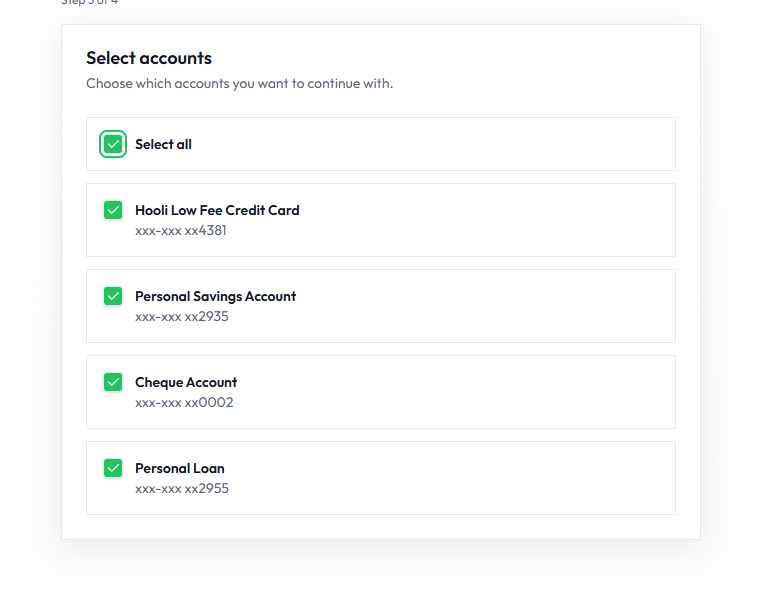
Follow your bank’s prompts, then choose which accounts you want to share with Moorr.
Select all eligible accounts or choose them individually.
For the most complete picture of your household finances, we recommend including your:
- everyday accounts
- savings accounts
- credit cards
- home loans
- investment loans
If your banking profile also includes business accounts, we recommend leaving these unselected, as Moorr is designed around your household finances.
Step 5: Connection
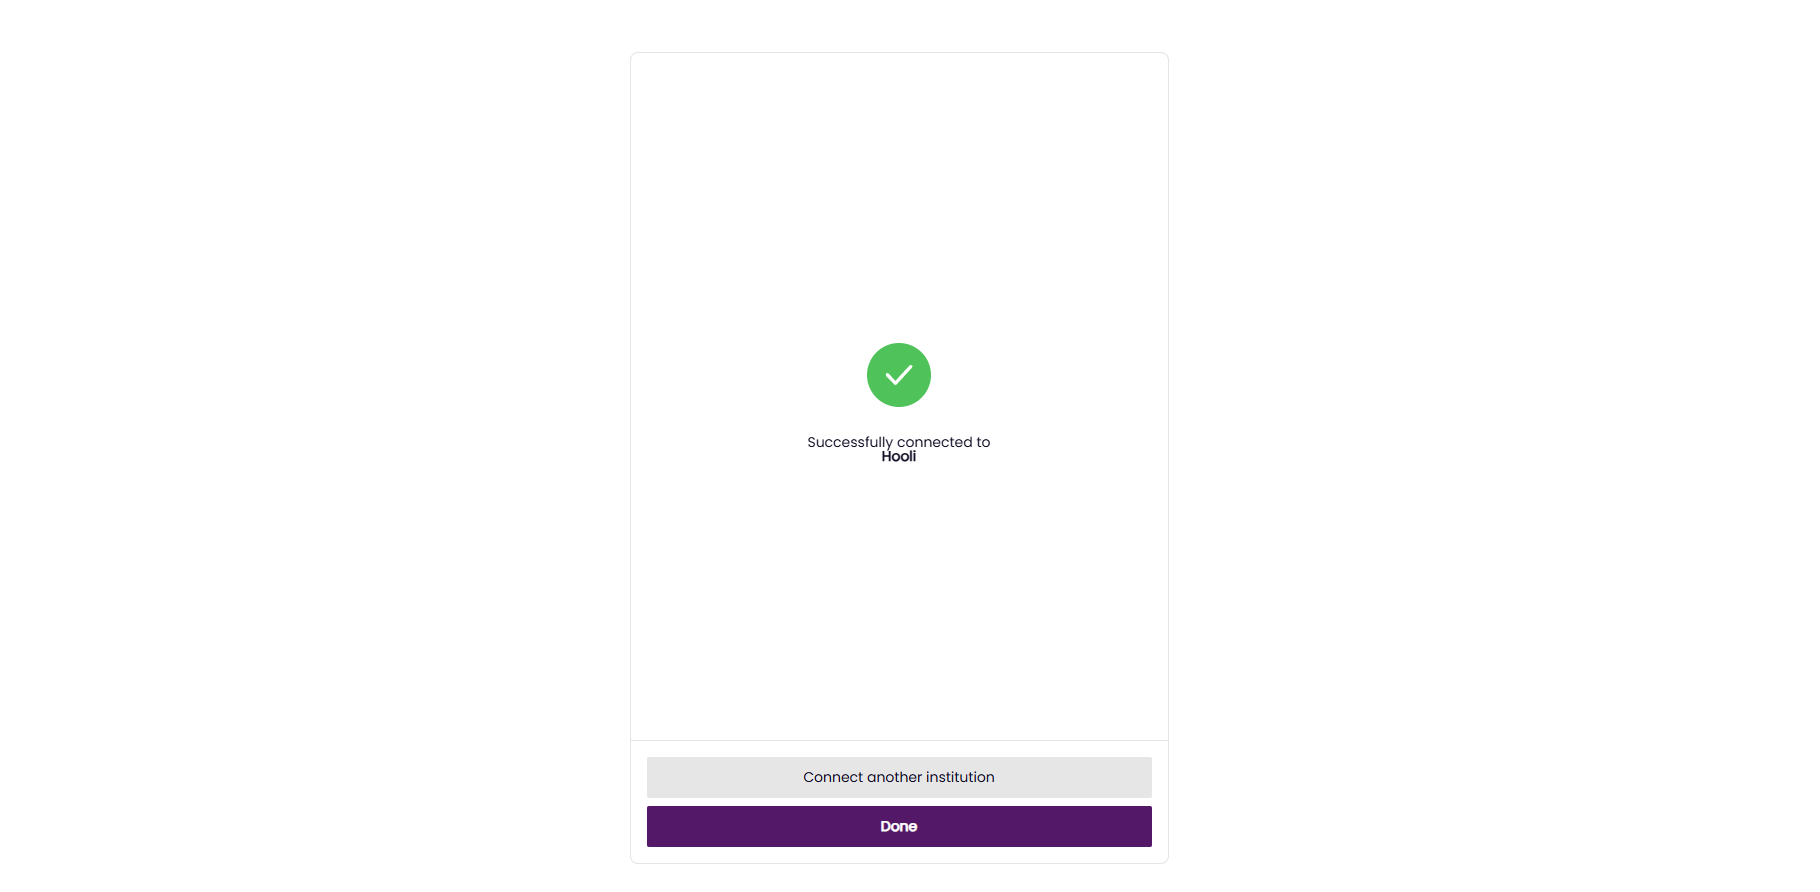
Once you see Successfully connected, select Done.
Bank with more than one institution? Select Connect another institution and repeat the process to add your other accounts.
Step 6: Review your connections
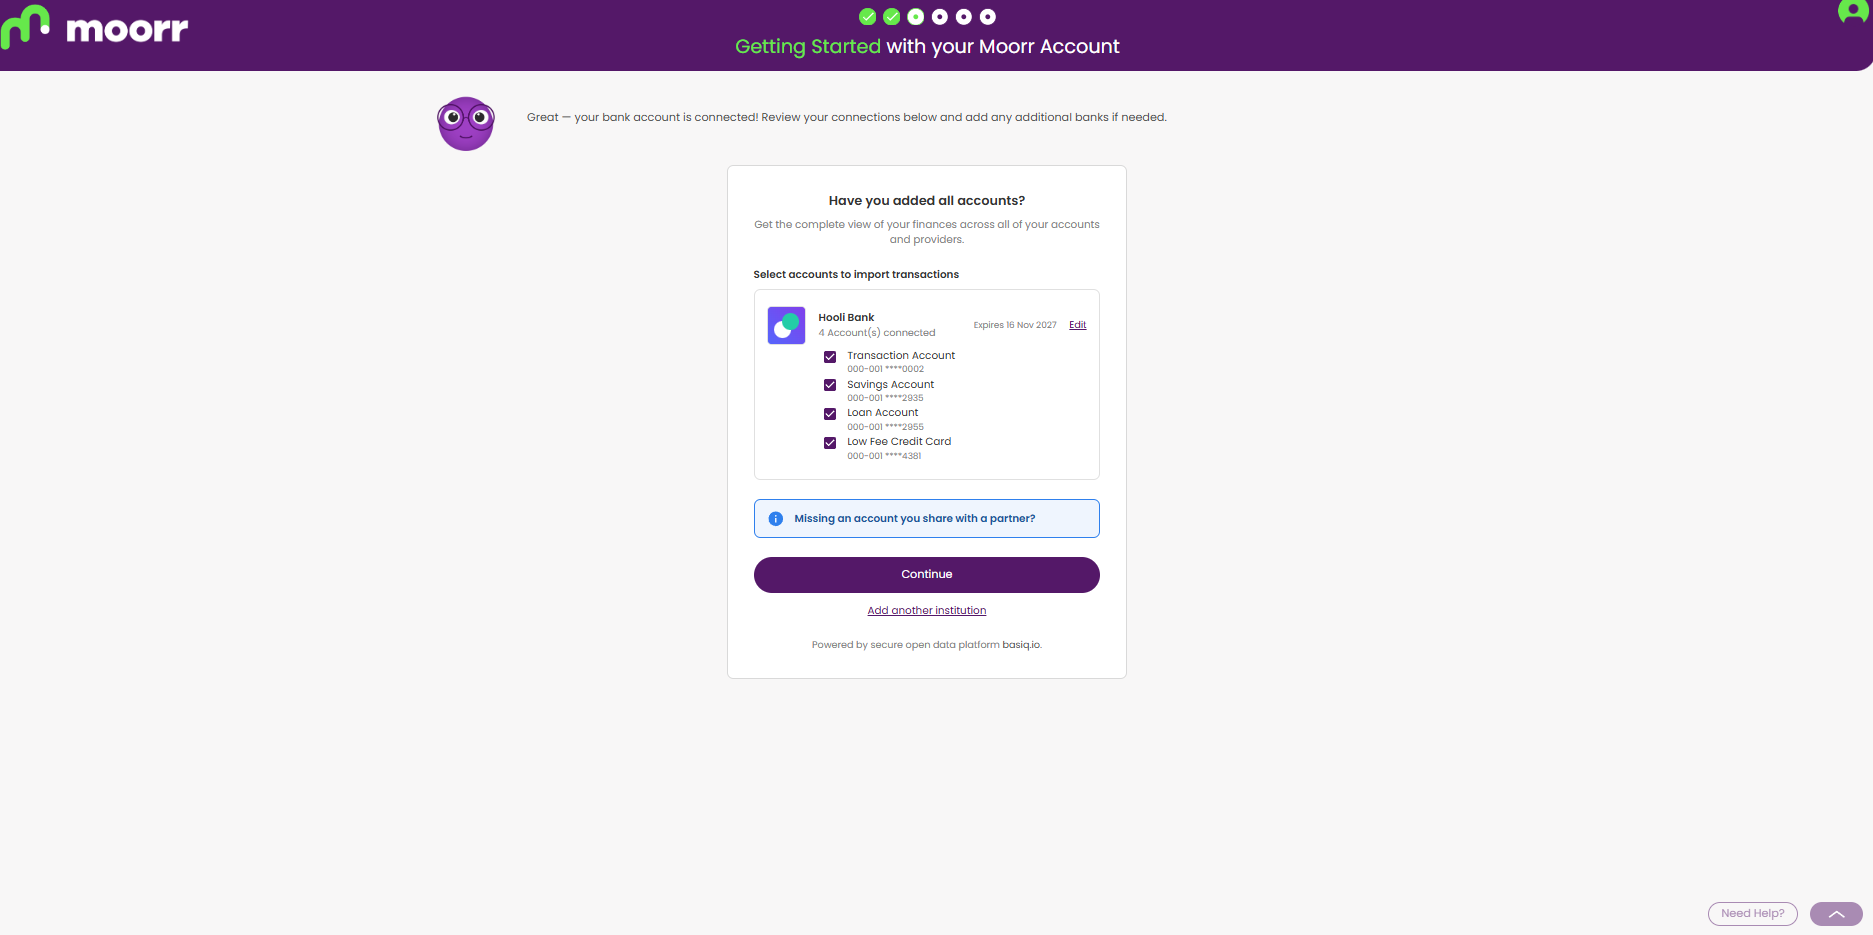
Back in Moorr, you’ll see each connected bank, how many accounts are connected and when your consent expires. You can:
- untick any account you don’t want transactions imported from
- click Edit to change a connection
- click Add another institution to connect another bank
Once everything looks right, select Continue.
Step 7: Importing
Moorr will begin importing your banking information and transactions.
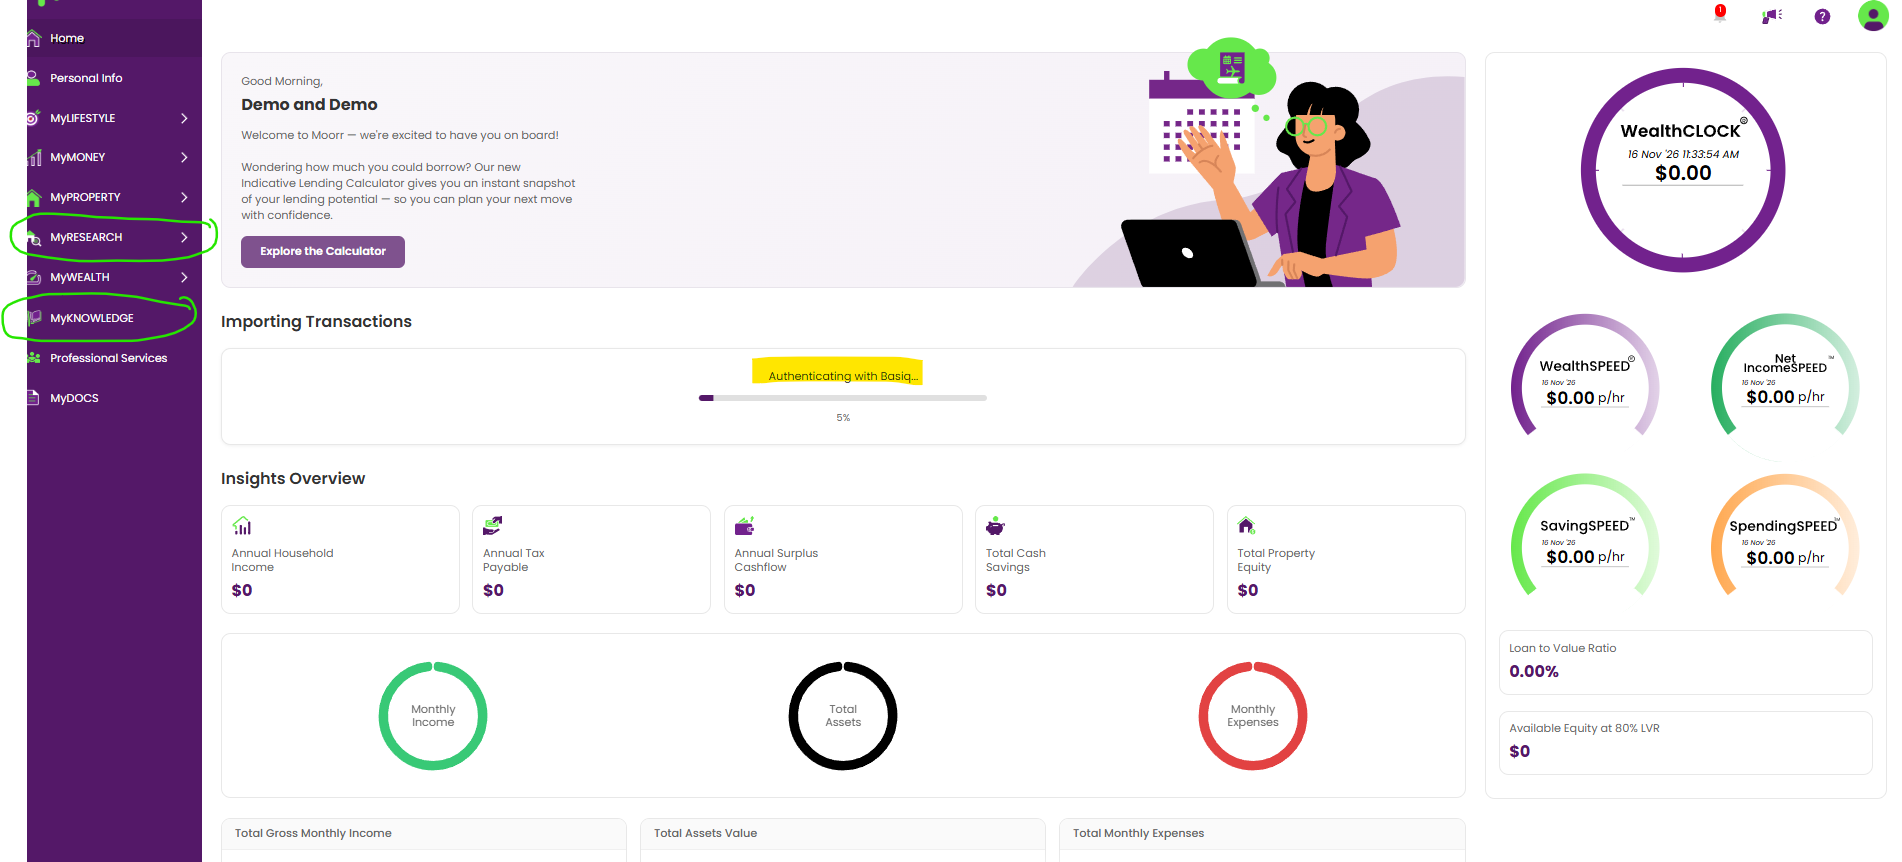
You can follow the progress under Importing Transactions on your Home page. While this is happening, MyFINANCIALS will display the message:
“Your transactions are being imported.”
For larger profiles, the import can take up to around 15 minutes.
You can keep exploring Moorr while the import runs, although some areas may be temporarily unavailable while your financial information and insights are being prepared.
A couple of things you can explore in the meantime:
- Explore MyKNOWLEDGE: Browse Moorr’s library of educational content covering money management, property, investing and building long-term wealth.
- Research a suburb: Head to Property Research and generate a suburb report for an area you own property in, are considering investing in, or simply want to learn more about.
Step 8: Finalise your income
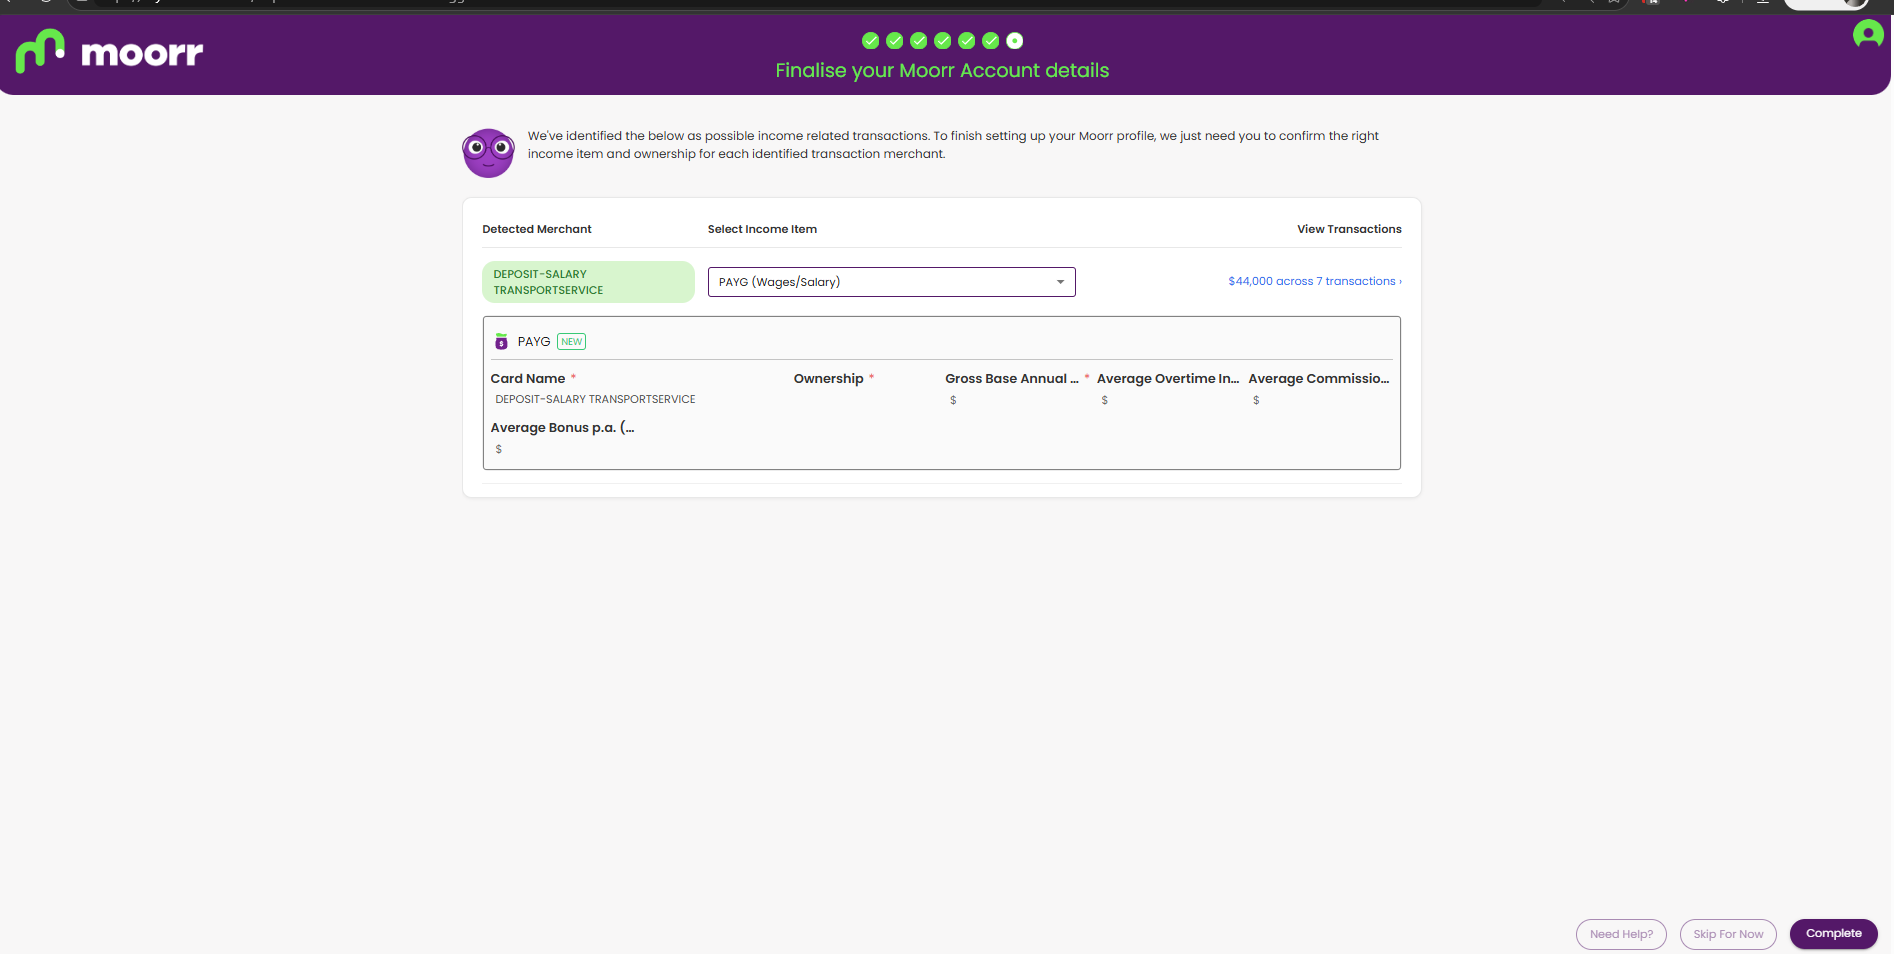
Once your transactions have finished importing, Moorr will help you finalise your income details.
It may identify transactions that appear to be income and ask you to confirm them. These can then be used to help build your income profile in Moorr.
From there, you’re ready to review your imported transactions, check your setup and start getting more from your financial information.
What’s next?
Here are a couple of related blog posts after this stage: